Lets get started! Here are the supplies you need:
Candle
Knife
Spoon
Water color pallets
Your lip colors
Paper towels
Cup of hot water
 |
| Use a tablespoon! |
 |
| The best watercolor sets are Crayola they have a deeper well and can fit more product. |
 |
| A small collection of my lip colors. |
Step Two: Pop out the water color from the pallet and rinse out well, let dry.
Step Three: Get a pen and paper so you can mark what color is where so you can label the later.
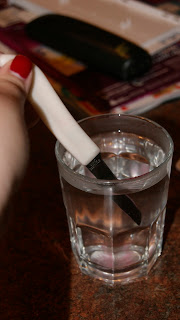
Step Four: Warm your knife in the cup of hot water.
Step Five: Cut about 3/4 of an inch of your lip color.
Step Six: Put color in spoon and place at least 2 inches above candle flame until melted, be careful not to burn. If you see the color start to have black swirls it is starting to burn.
Step Seven: Pour into your pallet.
Step Eight: While the leftover color on the spoon is still warm wipe off immediately with a paper towel. Be careful not to burn yourself on the spoon it is still hot!
Step Nine: Repeat until all done! Then you have an awesome organized pallet!
Good luck making your own pallet.
Notes: I found that most of my lipsticks melted very well, the only one that I had trouble with was my Stila lipsticks. I stopped melting those.
I am so excited for wedding season to start using these!


No comments:
Post a Comment